Monday, March 9, 2015

Colors

Hello there!!
 This posting is about a lesson/activity over primary colors! This fun activity can be used to teach kinder or first graders what primary colors are, and what different colors they can create when they are mixed together. Before starting this activity with the students, I highly recommend that you, the teacher, briefly explain what primary colors are. Once the students have an idea of what are or aren't primary colors, the fun can begin! The objective of this activity is to show the students how primary colors can create new ones when they are mixed. It is best that the class is broken up into groups of three or four at the most. Each group should have a paper plate with a dollop of each primary color on it, a paint brush, a cup of water to clean out the brushes between colors, and a paper with a triangle drawn on there. On each side of the triangle, a circle should be drawn. Also, at each point on the triangle, a primary color needs to be labeled there. Use the pictures below for any clarification, if need be.
     To get the activity started, the students should paint one of the primary colors in each circle. Each color has its own circle. Once that has been completed, the students will take turns mixing a primary color with another, to create a new color. Please see the pictures below for a better understanding of my explanation. Do this to each circle, and be sure to remind the students to observe the change in the color. After this has been done to every color, a discussion would be nice to see what they students learned from this activity. I really hope you enjoyed this post!

xoxo

   DaVonna Edgerson

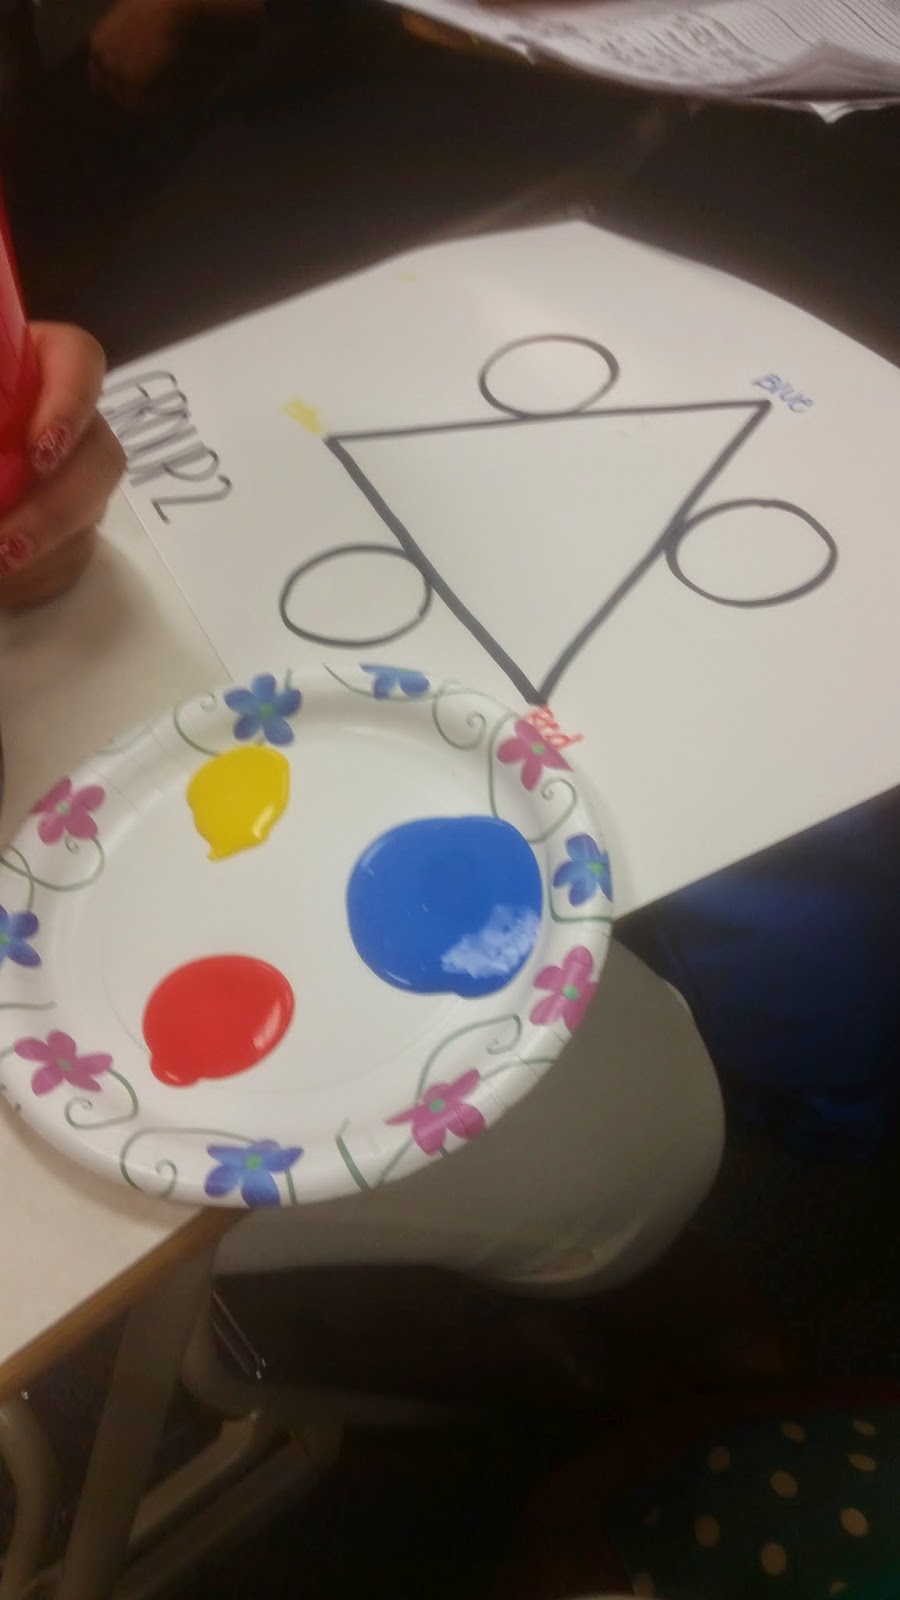
This is what the paper should look like, along with the paint on the plate. Each point of the triangle should have its designated color.


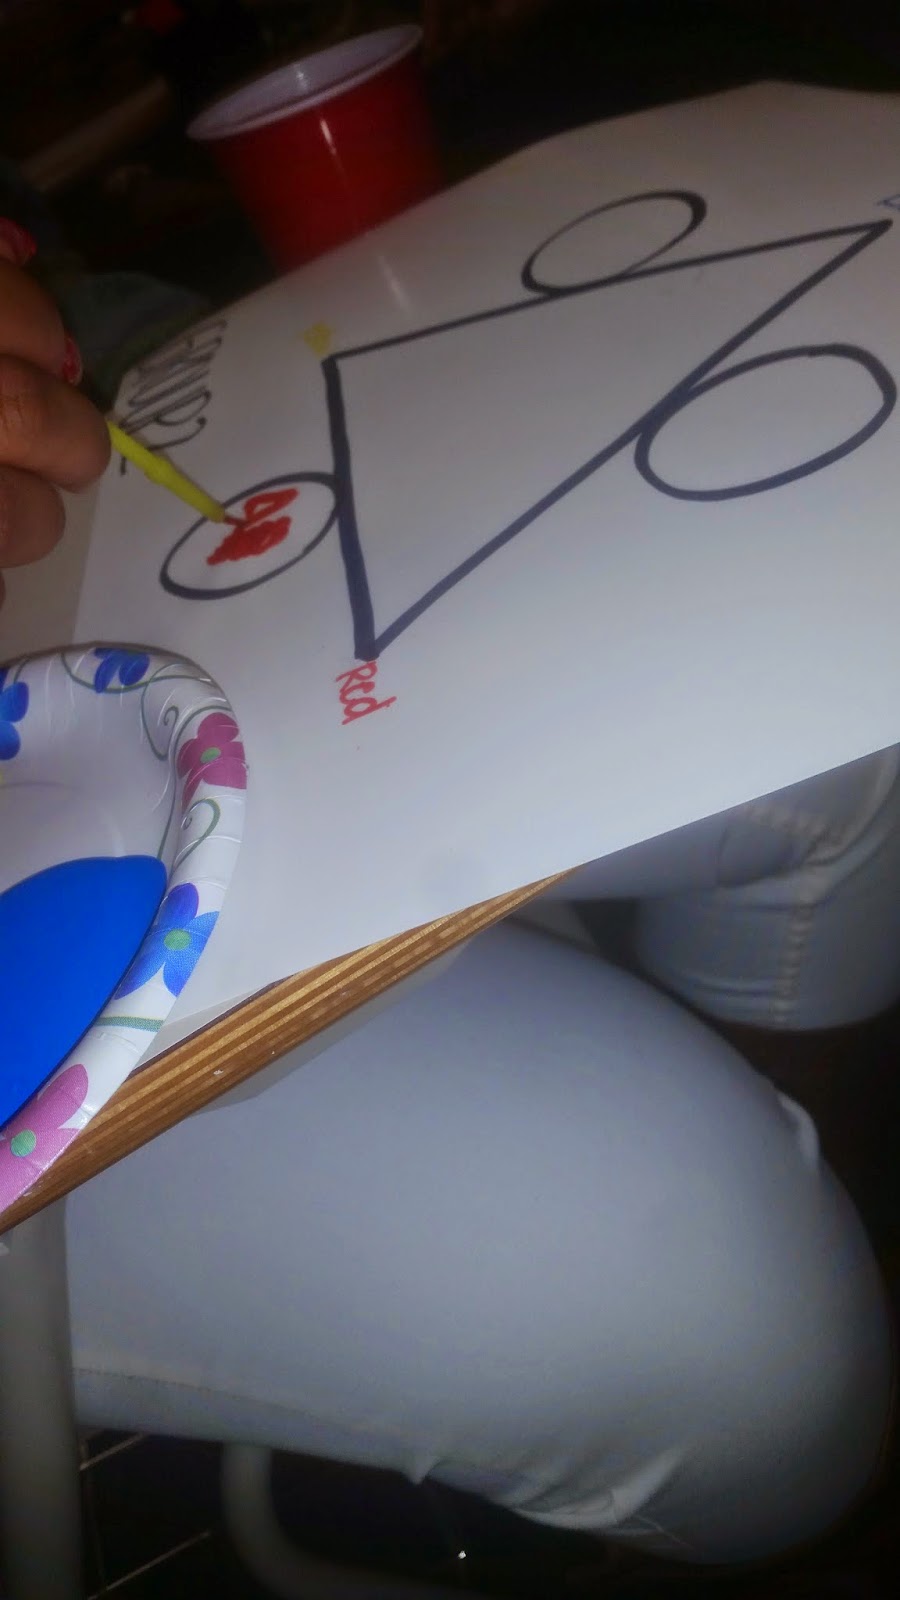
This is showing the student painting one of the primary colors in one of the circles.

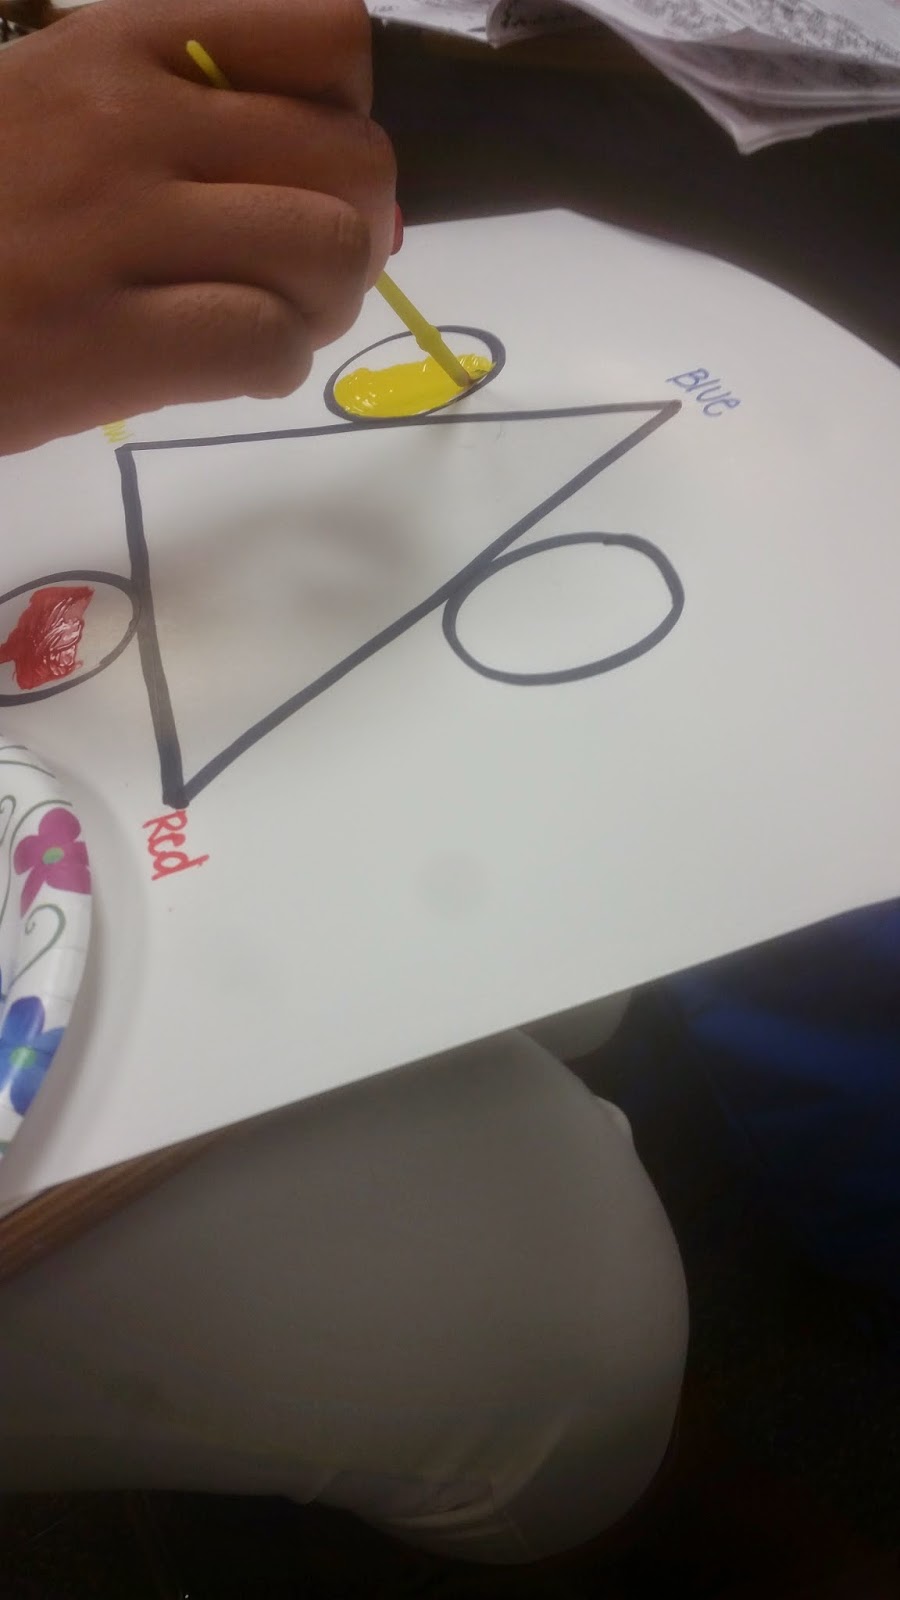
The student is painting the other circle yellow.

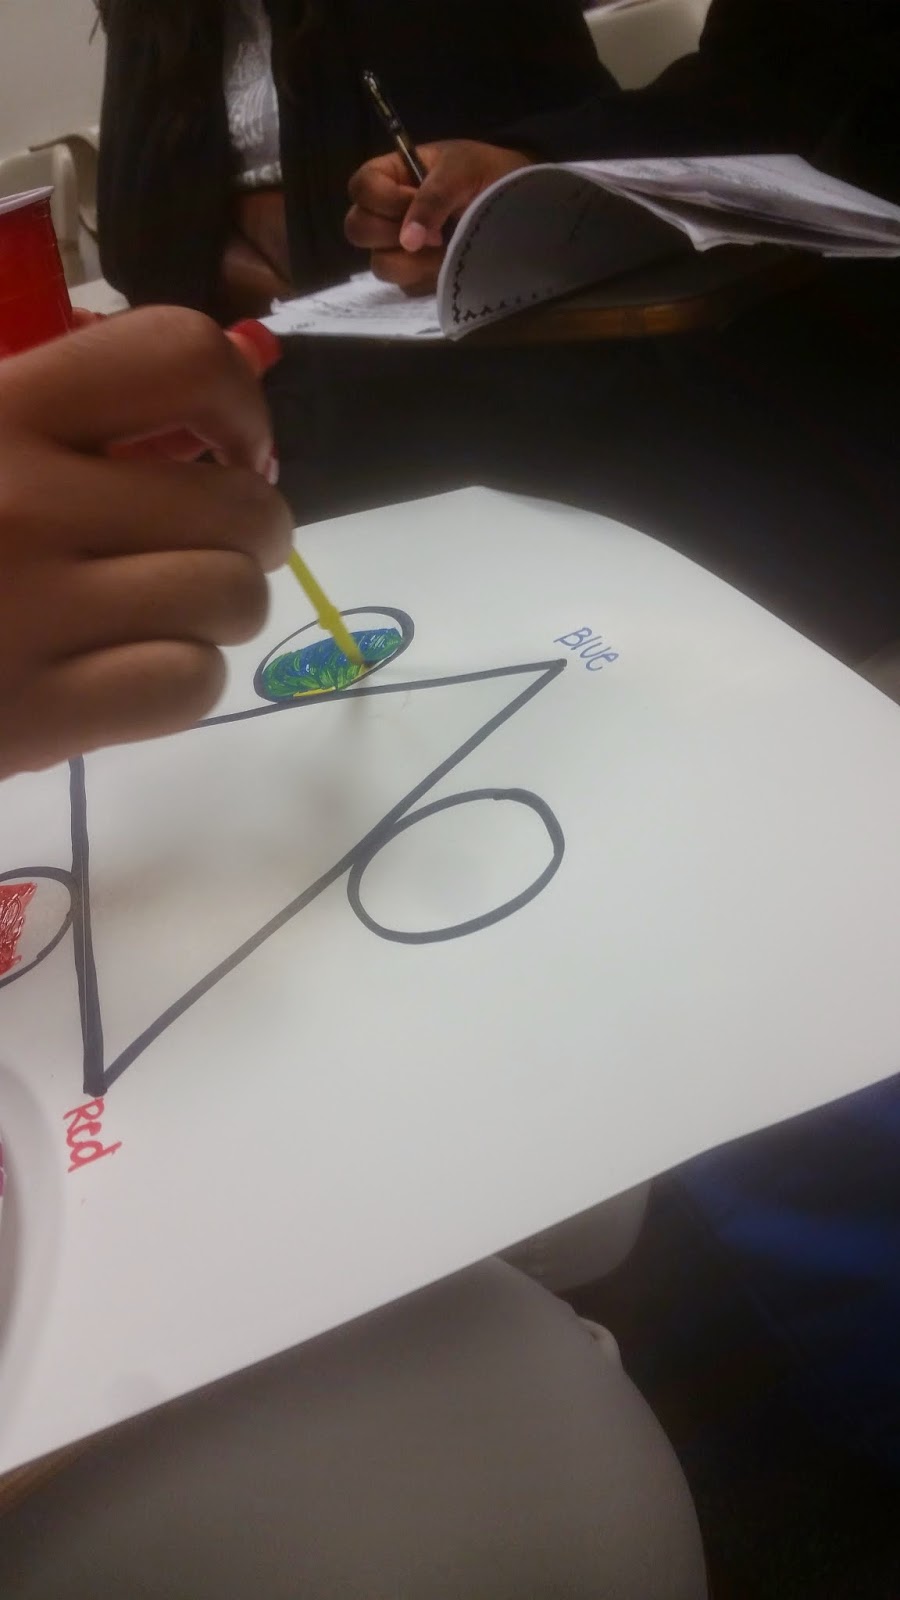
This is when the student starts mixing the colors. Here, the student mixed yellow and blue. You can see the color changing to green.


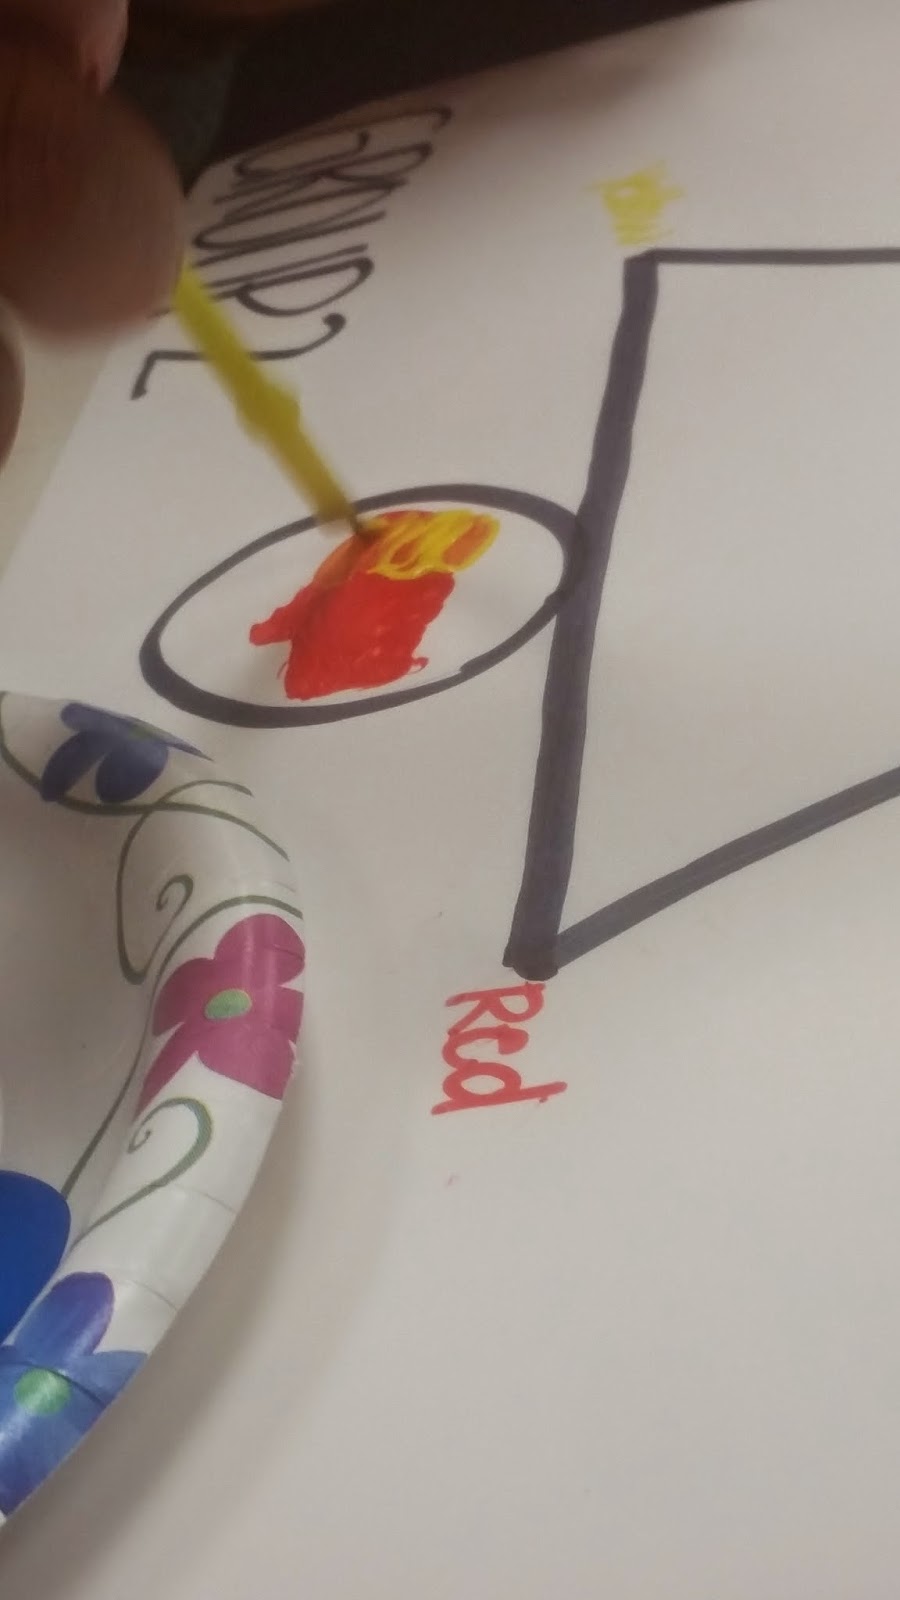
This is the same thing happening with the colors, yellow and red. The color orange is now forming. 

This is the blue circle.


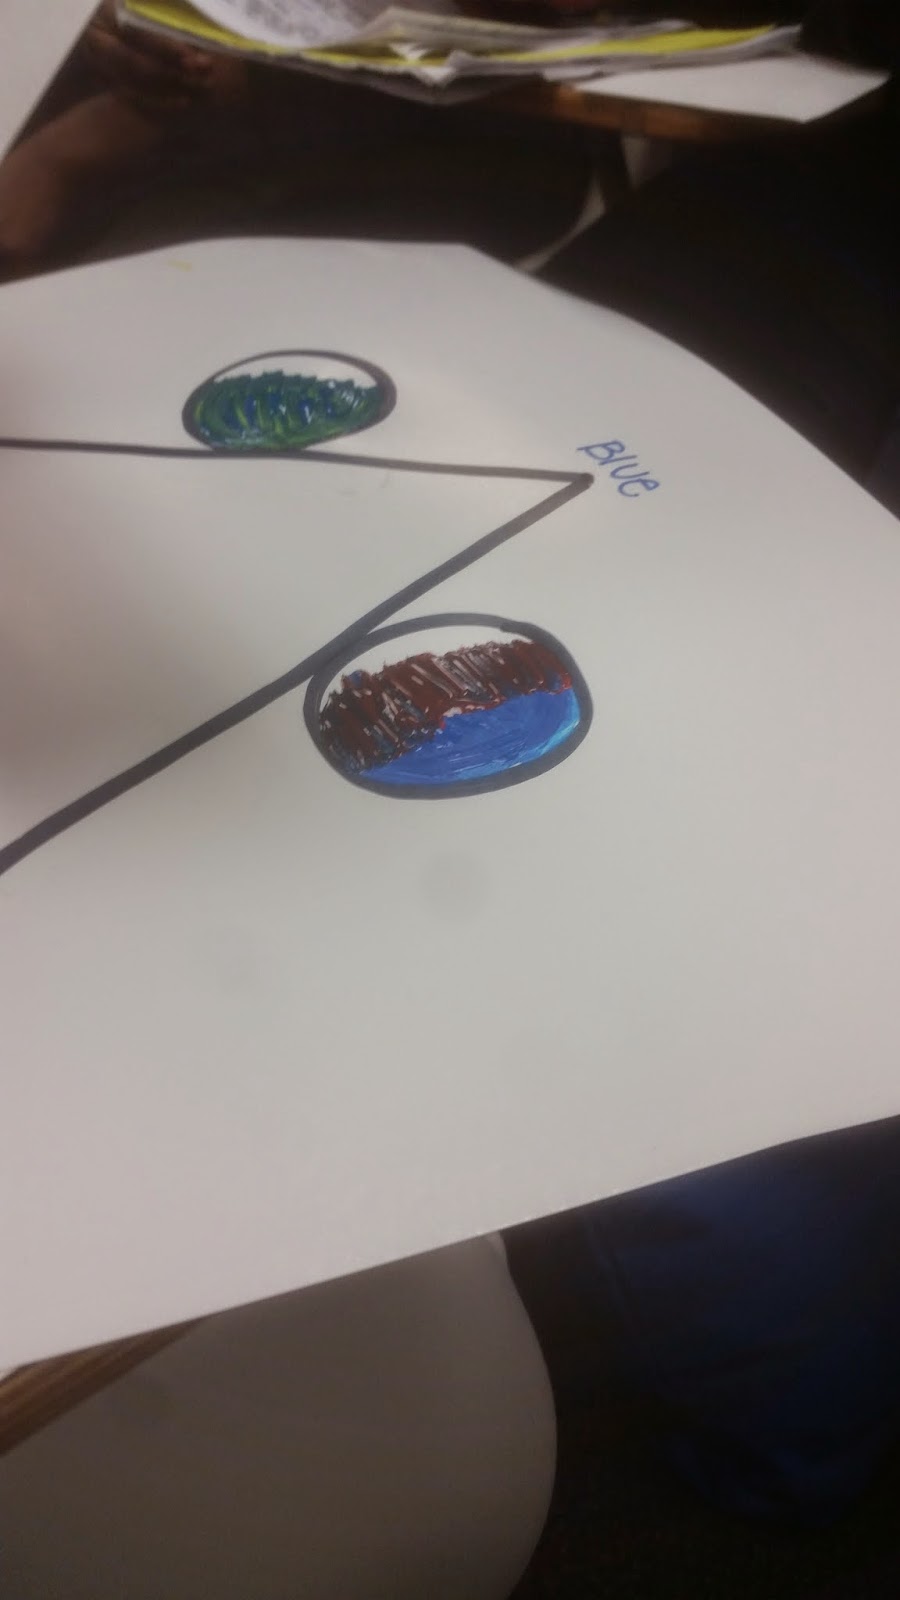
The student added red, so that the color could be changed to purple.

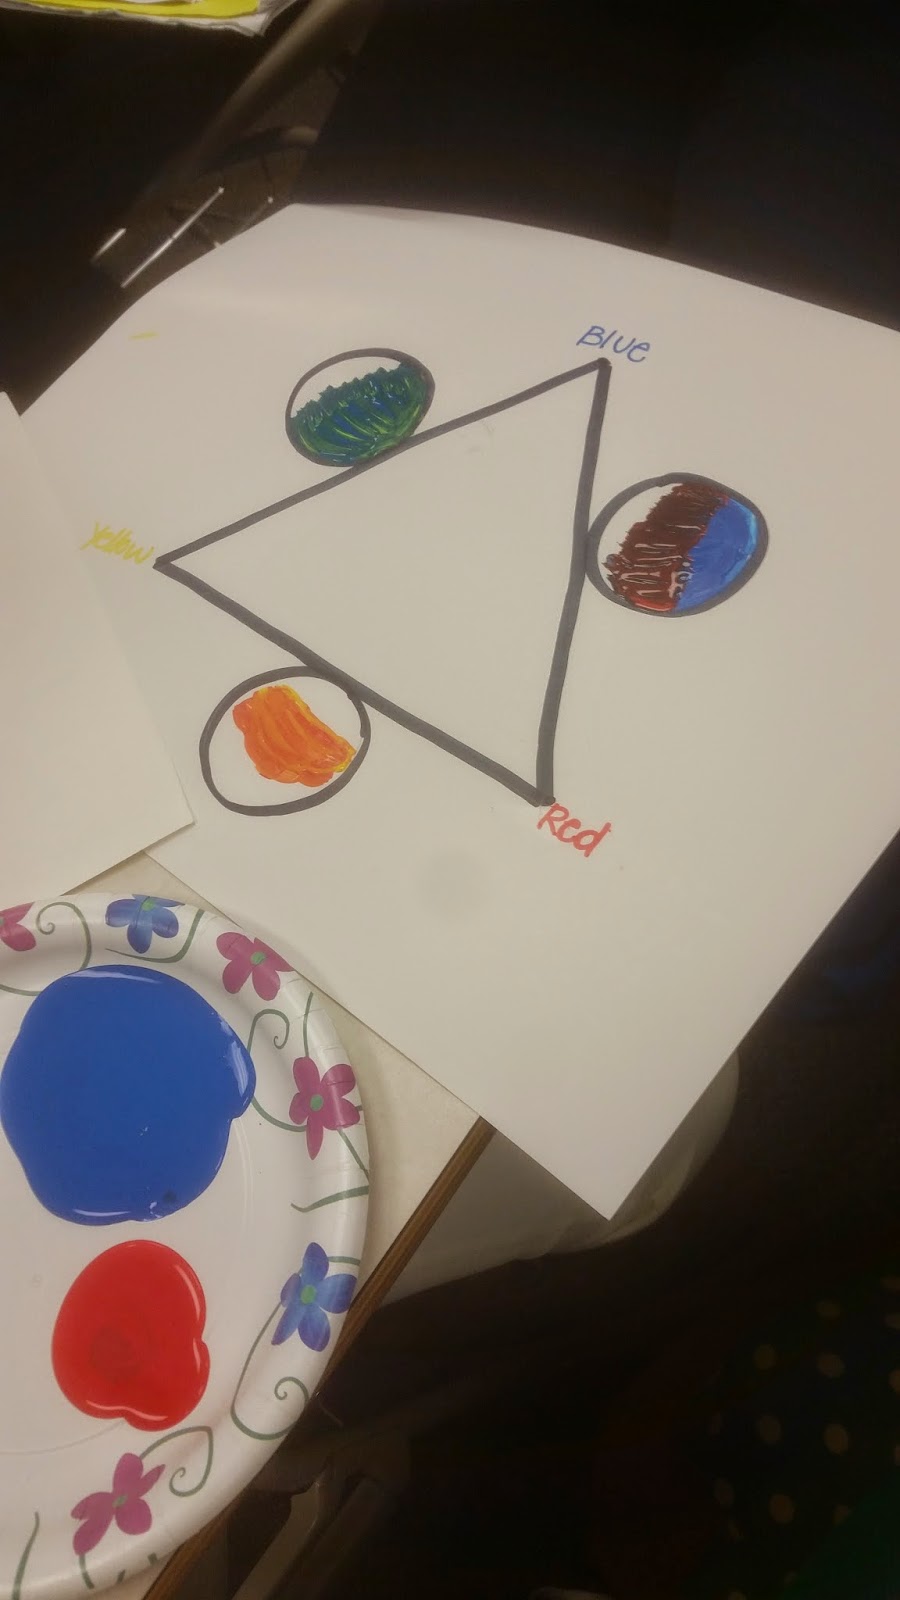
This is the final product of the activity.
Here is a link to a video about primary colors. https://www.youtube.com/watch?v=yu44JRTIxSQ

Monday, March 2, 2015

Black History Bulletin Board

Hello there! Although Black History Month is done and over with, I still think it is a good idea to post a bulletin board over Black History. I made this bulletin board at a local elementary school for volunteer hours. Even though we are not in the month of February, it is very important that the students know the history of the individuals that made a difference in the world. Here, below, are pictures of several African Americans who made history. Under each picture, there is a piece of information that describes what each person role was. This bulletin board could even be used as a game, or the "ticket" out of the door for lunch or something. The teacher could ask the students to tell her who did what, and lift up the flap to see if they are correct or not. I hope you all enjoy!
xoxoxo

     DaVonna Edgerson


This site can help with identifying some African Americans, and their role towards the world: http://thekulturekidz.com/ 

Monday, February 23, 2015

Suffixes

Hello there,
        I recently created an activity over suffixes, that I am eager to share! My class is currently reading one of Maya Angelou's book, Rainbow in the Cloud: The Wisdom and Spirit of Maya Angelou. Because the word, rainbow, is in the title of the book, I thought it would be cute to input it into the design of the activity. I created six rainbow images and glued it onto the poster board. At the end of each rainbow, I attached one side of a velcro strip,  so that the students would be able to add a cloud to the end of each rainbow. There are twelve clouds in total. Six clouds have root words on them, and the other six has suffixes. On each cloud, I attached one side of the velcro to the poster board, and the other side of it on the cloud. Just place the velcro strips on the clouds and at the end of the rainbows, ensuring that they will stick. The objective of the activity is to correctly match each root word to its corresponding suffix. The words that I chose for this activity came from Maya Angelou's book. This is an interactive activity that can be put towards prefixes as well, corresponding with any book of your choice. I hope you enjoy!

xoxoxo

     DaVonna Edgerson

Here are the rainbows, that are glued onto the poster board. The clouds are velcroed to the poster board.

Here is an example of what the student would do. I put a root word, walk, at one end of the rainbow.

Here is a picture showing that I attached another cloud to the other end of the same rainbow with the suffix, -ing, creating a new word, walking.


Check out this helpful link! https://www.youtube.com/watch?v=2583Ph6YS0s


Diversity Project

Hello there,
     Here is a fun activity that I am currently working on for a class. For my Program Organization class, I had to do a presentation on diversity. Diversity is just not all about different cultures, ethnicity, and backgrounds. Diversity can be the outlook of someone of a certain gender, someone's social economic status, religious status, biracial family, single family, refugee, and many more. I decided to do my diversity project over the continent of Africa. To add some creativity and visual to my project, I am in the process of making a salt dough map. A salt dough map is basically a map of whatever region you are focusing on, which in my case is Africa, that is created with dough. It is just a fun visual to create, versus an ordinary poster board of pictures. The steps to make this is as follows. I made a concoction of flour, water, and salt, creating a doughy solution. I then traced my continent on a poster board. After kneading the dough to make it stick, I placed it on the cardboard, filling in the shape of Africa. When the dough is completely dried, that is the time to paint the map. My map actually just dried last night, so when I get in from the day, I will then begin to paint my map. I attached two pictures of the map. One pictures is after I had filled in the map, from when I traced it. The other picture shows how I added height to some particular areas of the map to show the different elevations in Africa. When the project is completely done, I will be sure to post pictures of it painted, displaying the mountains and rivers of Africa. This activity can be done with students as well! Just be sure to provide a smaller portion of all the materials, so that it can be convenient for clean-up and time purposes! I really hope you enjoyed this!

xoxoxo

   DaVonna Edgerson

This is the picture of the map, after I filled in what I traced.


This is the picture of the map with the elevations I created, creating a physical map.

Here is a helpful link that explains how to make a salt dough recipe: http://www.easy-child-crafts.com/salt-dough-recipes.html


Wednesday, February 18, 2015

First Time Blogging!

Hi there! It actually feels weird to be writing a blog. I have always wanted to create a blog, and know what it is like to keep up with one. This is very fun and interesting for me! Some things that I would love, and plan on posting about on my blog, will be a few lesson plans that I have created for a class, and along with my thoughts on something that I may have observed throughout the day. I'll be looking forward into getting really comfortable with this, so that I can really "spill" all of my ideas and thoughts on here! I'm actually in the middle of working on an activity on prefixes now. As soon as it is completed, I'll be back to display my work!

DaVonna E.
xoxoxo


Here is the link to my blog, along with a nice quote.
teachinghandsandlessonplans.blogspot.com